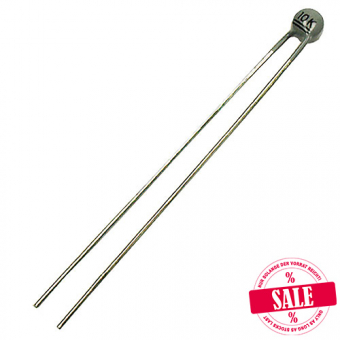
While there are several digital temperature sensors available in the market, designing your own DIY sensor can be a fun and challenging task. In this blog post, we'll walk you through the steps to design and build your digital temperature sensor using common components that are readily available.

Step 1: Gather the Parts
To build your digital temperature sensor, you'll need the following components:
- LM35 Temperature Sensor: This is a precision temperature sensor that measures temperatures in Celsius.
- Arduino Nano: This is a small and compact microcontroller board that helps in powering and programming the sensor.
- 16x2 LCD Display: This display will help in showing the temperature readings accurately.
- Breadboard: A breadboard is necessary to connect the components together.
- Jumper Wires: These are used to connect the components on the breadboard.
Step 2: Circuit Diagram
Before starting with the actual build, it's essential to have a circuit diagram in mind. The circuit diagram for the digital temperature sensor is relatively simple and can be easily created using Fritzing software.
Step 3: Connect the Components
After having the circuit diagram in place, it's time to start connecting the components on the breadboard. The LM35 temperature sensor should be connected to the 5V and GND pins of the Arduino Nano, with its output pin connected to A0 of the microcontroller board.
The LCD display should be connected to the Arduino Nano's digital pins 2-7, with its VSS pin connected to GND and the VCC pin connected to 5V. Also, connect a 10k potentiometer to adjust the contrast of the LCD display.
Step 4: Write the Code
Now that the components are connected, it's time to write the code for the digital temperature sensor. The code will read the temperature values from the LM35 sensor and display it on the LCD display in Celsius.
To write the code, download the Arduino IDE software and paste the following code:
```
#include
LiquidCrystal lcd(2, 3, 4, 5, 6, 7);
int tempPin = A0;
float tempC;
float tempF;
void setup() {
lcd.begin(16, 2);
}
void loop() {
tempC = analogRead(tempPin) * 0.48828125;
tempF = (tempC * 1.8) + 32;
lcd.setCursor(0, 0);
lcd.print("Temp: ");
lcd.print(tempC);
lcd.print(" C");
lcd.setCursor(0, 1);
lcd.print(tempF);
lcd.print(" F");
delay(1000);
}
```
Once pasted, click on the Upload button in the Arduino IDE software to upload the code to the microcontroller board.
Step 5: Test the Sensor
With everything now set up, it's time to test the digital temperature sensor. Power up the sensor, and you should see the temperature readings being displayed on the LCD display accurately.
Conclusion
In conclusion, designing and building your digital temperature sensor is not only a fun and challenging task but also an excellent opportunity to learn about sensors and how they work. With the LM35 temperature sensor, Arduino Nano, and LCD display, you can build a DIY digital temperature sensor that's easy to use and highly accurate.
So, whether you're a hobbyist or a professional engineer, try building your digital temperature sensor today and see what exciting projects you can create! Just make sure to include relevant keywords such as "digital temperature sensors" in your blog for better SEO.